How to optimize and export EOS 5DsR RAW data、What should I do?
If you do not want to output to a very large size,、Adjusting exposure, highlights/shadows, etc. with the Camera Raw filter in Photoshop or Lightroom、It is highly effective and can be done with easy operation.、It's very convenient though、Small details often deteriorate.。
Well then、Since it's EOS, wouldn't it be better to use DPP? That means that、Actually, it's not as good as Photoshop if you make a mistake in the settings.、Small details will deteriorate.。
For DPP、"Highlight/Shadow" is not as effective as Photoshop、After all, if you use it a lot, it will deteriorate.。The only thing that doesn't have much of an effect is the brightness adjustment.。However, if it exceeds +-1, deterioration will gradually appear.。
"Auto Lighting Optimizer"、I don't think professionals use it.、I think the problem is that I make various adjustments without permission.。
Another very important thing is、The ``digital lens optimizer'' was introduced with much fanfare.、For low-pass type EOS and old lenses, etc.、I think it's very effective、It may be better not to use it for low-passless 5DsR and recently released L lenses.。"Digital Lens Optimizer" may not give good results depending on the camera and lens.、100With a magnification of more than %、It is important to try turning it on and off and choose the best one.。
5Regarding the combination of DsR+24-70mmF4 and 16-35mmF4、OFF is more beautiful without deterioration。"Digital Lens Optimizer"、Actually, I also applied sharpness, so、This takes a lot、Something like a fringe appears、This seems to be the cause more often than the unsharp mask of "Sharpness".。
●Double application of "Digital Lens Optimizer" ON and "Sharpness" unsharp mask will give the worst result.。
—————————————-
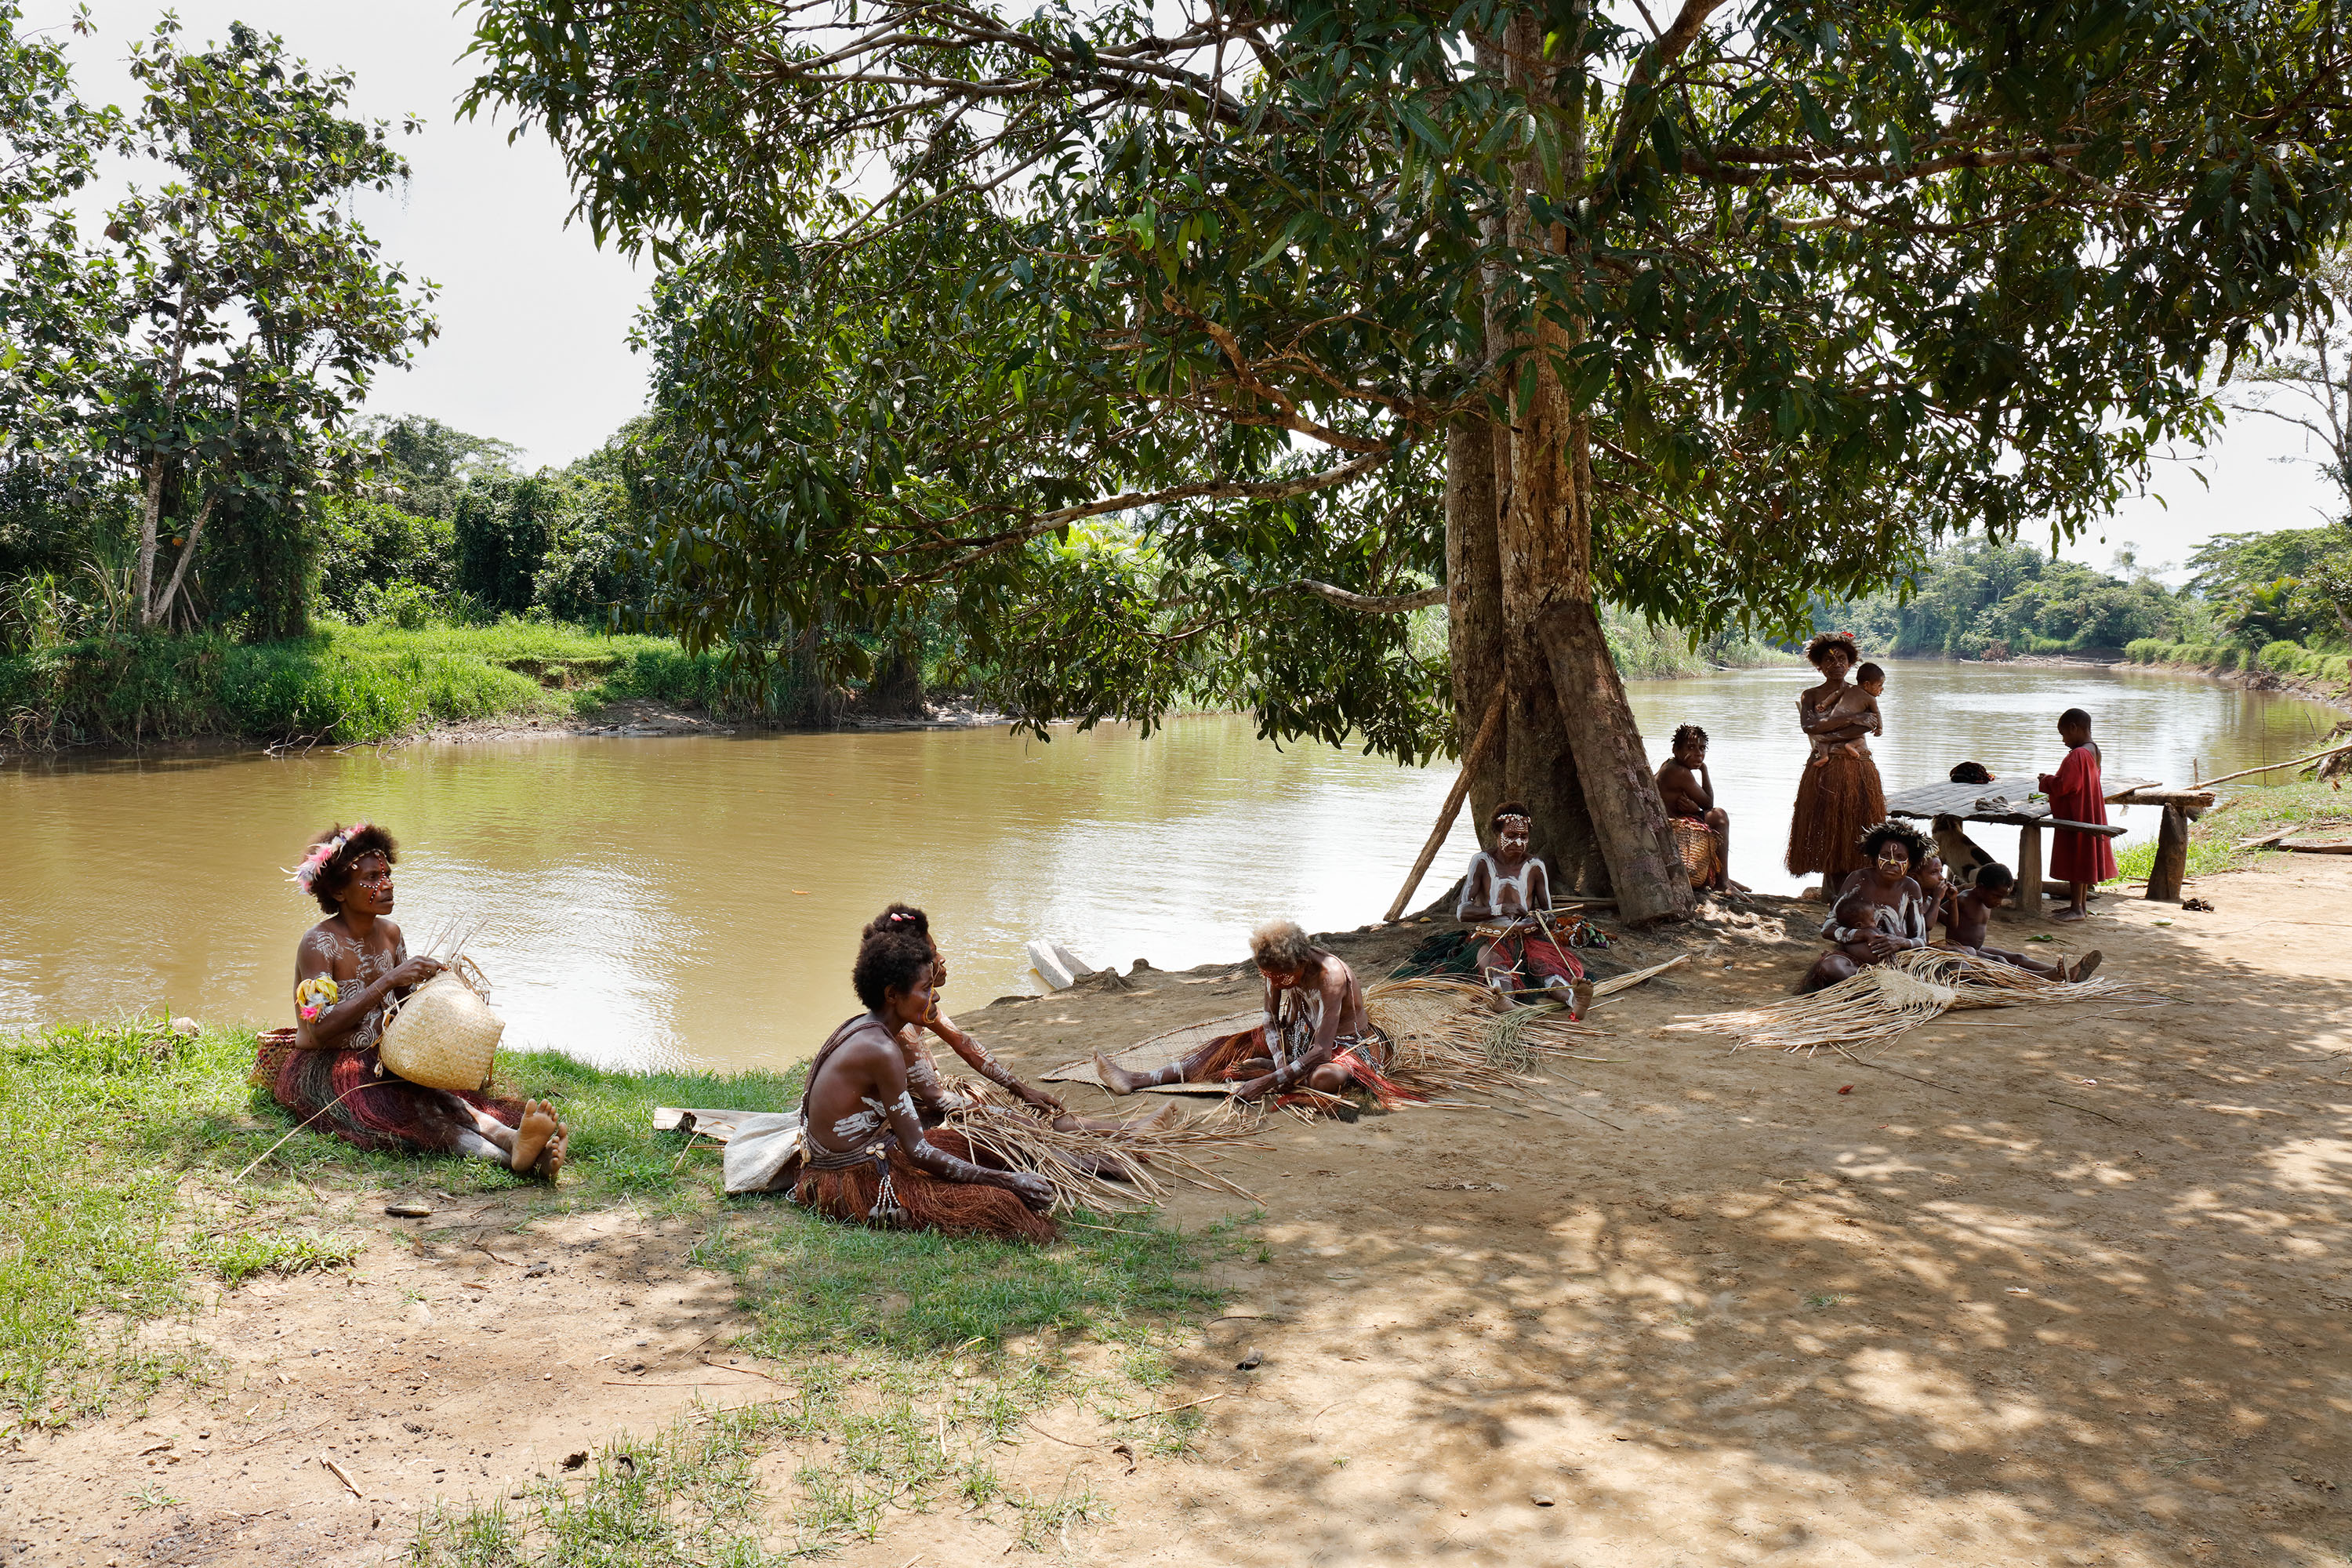
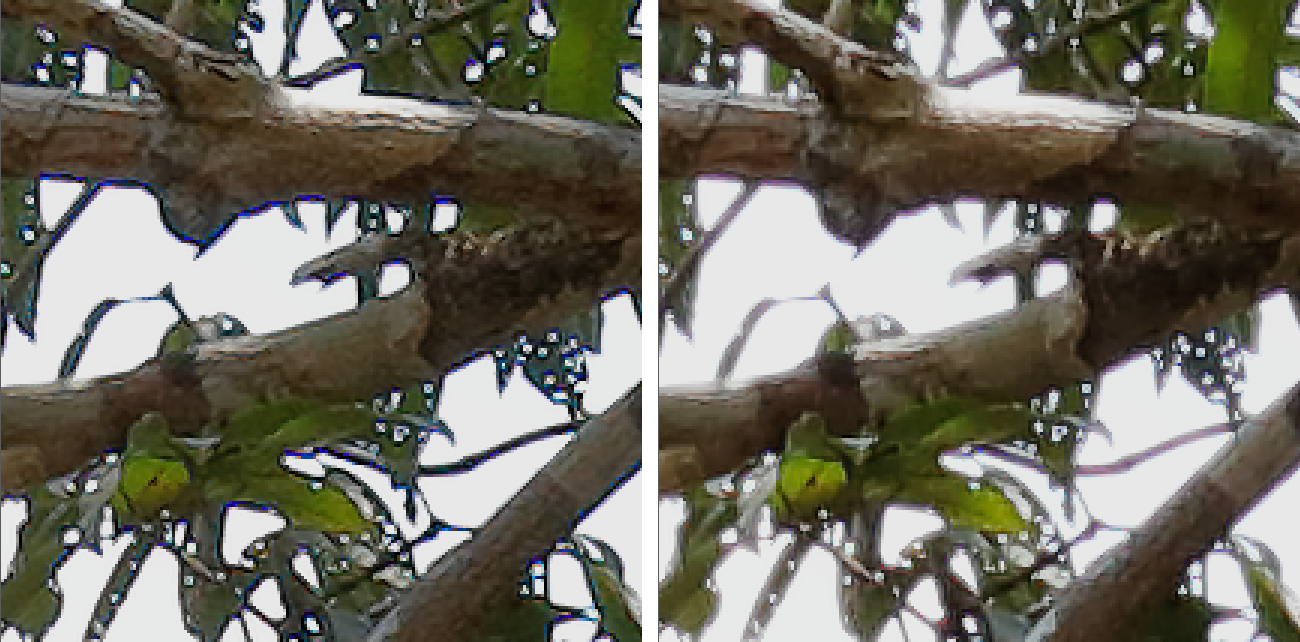
I will post the actual image because it would be faster if you could see it.。Both images are displayed at 300% in Photoshop to make it easier to see the flaws, so they look shaggy.、Look at the edge instead of that.。Please look at the skin for close-ups of people.。
Left
"Digital Lens Optimizer" "chromatic aberration," "color bleeding" ON.
Change to 0 "unsharp mask" in the "detail setting"
"Shadow" +3 "highlight" -3
Finally those subjected to "Smart Sharpen 200" in Photoshop
right
"Digital Lens Optimizer" OFF、"Chromatic aberration" and "color fringing" ON.
Change to "unsharp mask" 3.0 "detail setting"
“Shadow” and “Highlight” do not touch、
Finally those subjected to "Smart Sharpen 200" in Photoshop
—————————————-
●When "Digital Lens Optimizer" is turned off、Because there is too little sharpness、The one with "Unsharp Mask" set to 3.0 in "Detail Settings" and "Smart Sharpen 200" applied in Photoshop is just right.。
●When "Digital Lens Optimizer" is turned off、In Photoshop, setting ``Smart Sharpen to 200'' doesn't give enough sharpness, so if you set ``Smart Sharpen to 400'' it becomes shaky.、The fringe also comes out strongly.。
-In short, apply "Unsharp Mask" to some extent with DPP.、Fine-tuning with Photoshop's "Smart Sharpen" made it look the best.。
●About “peripheral light amount”、Brightening the surrounding area means deteriorating that area.、I turned it off because the image looks tighter when it's off.。

#This is just a test based on Sugiyama's own opinion and bias.、ご自分でも検証してみてください。
備忘録として残します。
全体画像はこちらになります。